Integrations button under the Companion Forums Site module in your Tightknit app home.
Within the Integrations modal you can configure Google Tag Manager, a free tool that allows you to manage and deploy marketing tags (snippets of code or tracking pixels) on your website without having to modify the code.
Google Tag Manager
You can connect your Google Tag Manager to the Tightknit companion site. All you need is your GTM ID. Below is a detailed guide on how to connect Tightknit to Google Tag Manager and Google Analytics, including how you can track custom Tightknit events.Connect Google Tag Manager
Create a Google Tag Manager account and container
Visit Google Tag Manager.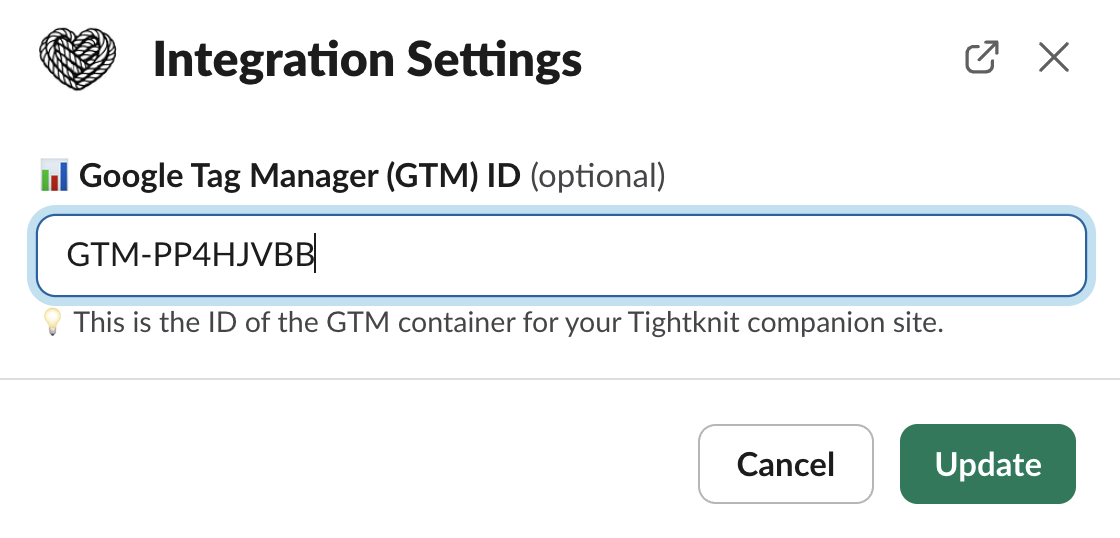
- If you don’t have one already, create an account for your company and a container for the Tightknit companion site.
- In the Workspace view, locate your Google Tag Manager ID (GTM-XXXXXX) in the navigation header
- Open the Tightknit app in Slack and open the
Integrationssettings under the Companion Forums Site module - Enter your GTM ID and click Update.
[Optional] Connect Google Analytics
Visit Google Analytics.
- Create a “Property” for the Tighktnit site:
- Click the
⚙ AdminButton in the bottom left corner - Click the
+Createbutton and select Property - Copy the Measurement ID (G-XXXXXXXXXX)
- Click the
- Create a new GTM Tag:
- In the Workspace view, navigate to Tags on the left hand navigation
- Click the
Newbutton - Click the Tag Configuration section and select Google Analytics > Google Tag
- Paste the Measurement ID from above (G-XXXXXXXXXX) into the Tag ID field
- Click the Triggering section, select Trigger Configuration, and then ‘Initialization - All Pages’
- Click Save
- Submit the GTM changes and publish
[Optional] Track Tightknit Events
In order to track the custom events from Tightknit, you must configure tags and variables.
- Open your Google Tag Manager container workspace.
-
Create a Trigger for the event
- Navigate to Triggers in the sidebar and click the
Newbutton - Select the Trigger Configuration section
- elect “Custom Event” for the trigger type
- Give an Event name such as “Tightknit CTA button click”
- Fire the trigger on “Some Custom Events”
- Reference the Tightknit Event in the table below. Set the trigger condition to equal the Event. For example: Event equals
tk-cta-button-click - Click Save
- Navigate to Triggers in the sidebar and click the
-
Create a Variable to capture the event’s variables
- Navigate to Variables in the sidebar and click the
Newbutton under the User-Defined Variables section - Select the Variable Configuration section
- For the Variable Type, select “Data Layer Variable”
- For the Data Layer Variable Name, enter the name exactly as the variable appears in the Events table data layer variables. For example, use
locationfor the location variable. - Leave the remaining fields with their default values
- Click Save
- Navigate to Variables in the sidebar and click the
-
Create a Tag for the event
- Navigate to Tags in the sidebar and click the
Newbutton - Select the Tag Configuration section
- For Tag Type, select “Google Analytics: GA4 Event”
- For Tag ID, enter the GA measurement ID from the earlier step (G-XXXXXXXXXX)
- Under Event Parameters, add a new parameter. For the Event Parameter, use the name of the data layer variable, e.g.
location. For the Value, click the lego variable button and select the Variable created from the previous step. - Select the Triggering section
- Under Firing Triggers, add a new item and select the name of the Custom Event trigger you created in the first step
- Click Save
- Navigate to Tags in the sidebar and click the
- Submit the GTM changes and publish
- Open your Google Analytics container workspace.
- Create a new Custom Definition
- Click the
⚙ AdminButton in the bottom left corner - Navigate to Property Settings > Data display > Custom definitions, in the sidebar
- Click
Create custom dimension - Enter a descriptive name for the Dimension name. Select “Event” for the Scope. Enter the exact data layer variable name for the Event Parameter, e.g.
location. - Click Save
- Click the
- To verify your setup:
- Trigger a real event on your Tightknit site, e.g. click the Call to Action button.
- Go to Reports > Engagement > Events.
- Ensure the time window (top-right) is appropriate, e.g. last 24 hours.
- You should see some recent events, including the Tightknit events. If you click on the event item, you should see an event-specific dashboard and the ability to filter by the data layer variables we configured earlier!
Events
The following custom events are pushed to GTM via the data layer when certain activity occurs on your Tightknit companion site.| Event | Description | Data Layer variables |
|---|---|---|
tk-cta-button-click | Call to Action button is clicked | text: the text of the button element location: the location of the button on the site |
tk-slack-permalink-click | Slack permalink, which links to the original item in Slack, is clicked | permalink: the Slack URL permalink location: the location of the link on the site |