Go from zero to a live Slack community with Tightknit in about 10 minutes
This guide takes you from nothing to a live community: a Slack workspace set up the right way, Tightknit installed, and your first members invited. Budget about 10 minutes.
Already have a Slack workspace with a few channels? Skip to Install Tightknit.
If you don’t have a dedicated community workspace yet, create one now. Keep it separate from your internal team Slack. See Where to Install Tightknit.
1
Create the workspace
Go to slack.com and select Create a new workspace. Sign in with your work email. That account becomes the workspace owner.
2
Pick a clean URL
Choose a memorable workspace URL (for example yourcompany-community.slack.com). It is hard to change later, so get it right the first time.
3
Make it invite-only
Under Settings & administration → Workspace settings → Invitations, require admin approval for new members. Don’t leave joining open to anyone.
4
Create 3 to 7 starter channels
Start small. A common starting set:
#announcements for admin-only posts
#introductions for new members to say hello
#help or #support for questions
#random for off-topic chat
Set your admin-only #announcements channel up early. Some Slack plans limit how many channels can be restricted to admin-only posting, so configure it before you fill the workspace.
Don’t over-build. Add channels only when members ask for them.
You must be a Slack admin or an authorized user to install apps in a workspace. If you can’t install, ask a workspace owner to install Tightknit or grant you permission.
1
Install the app
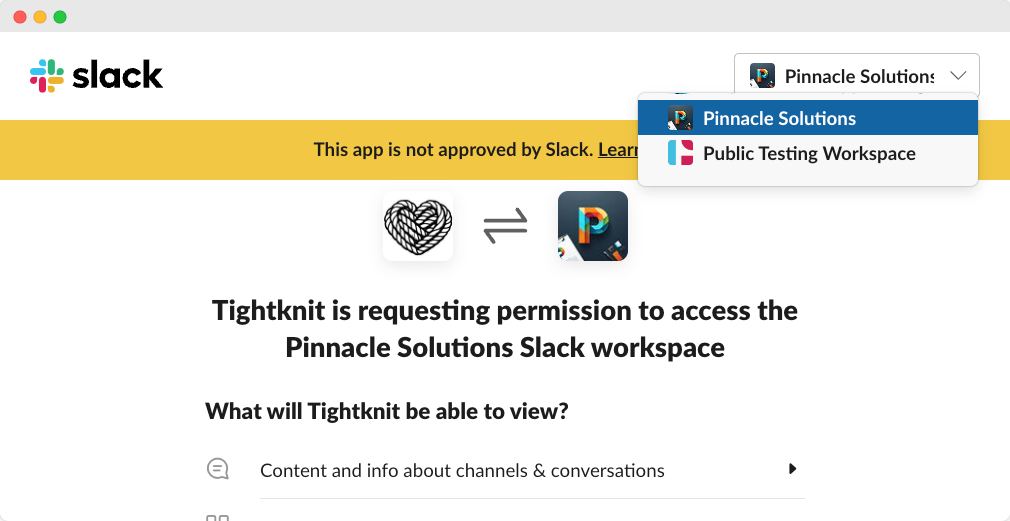
Visit tightknit.ai/start. Make sure the correct workspace is selected in the top-right dropdown, review the permissions, and click Allow.
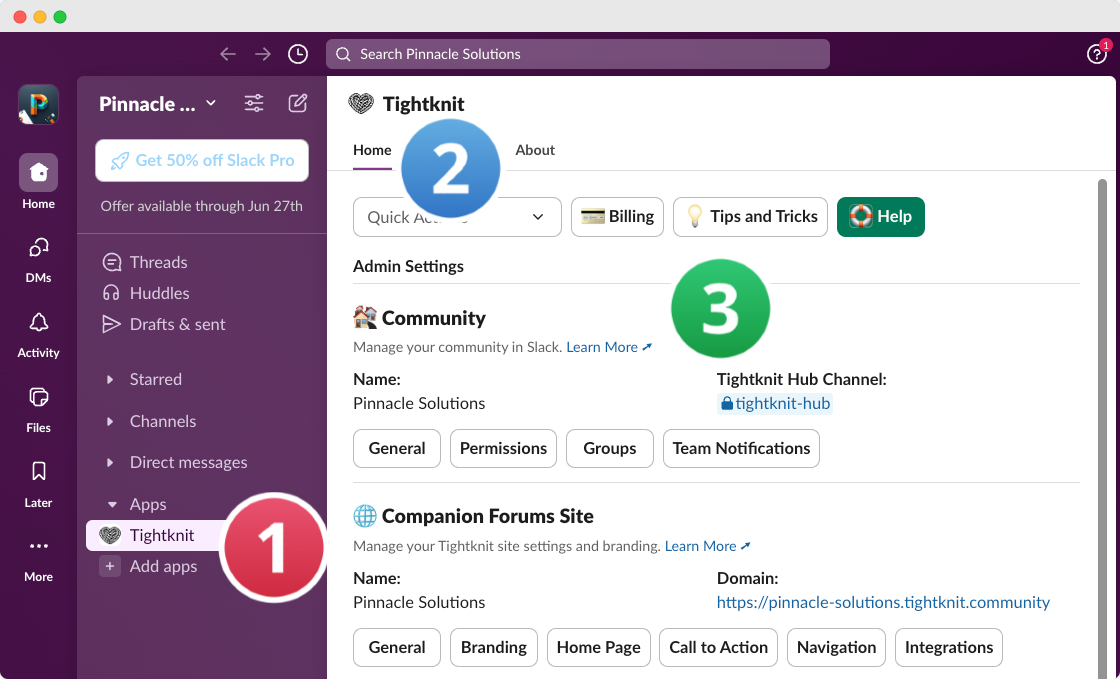
Find Tightknit under Apps in the left sidebar, then right-click it and select Star so it stays within easy reach.
3
Open the App Home and get your welcome message
Open Tightknit and select the Home tab, then click Get Started. Tightknit DMs you a welcome message with a link to Studio, the slash commands you can use from Slack, and where to set up the MCP server.
Tightknit App Home in Slack
4
Create your community site
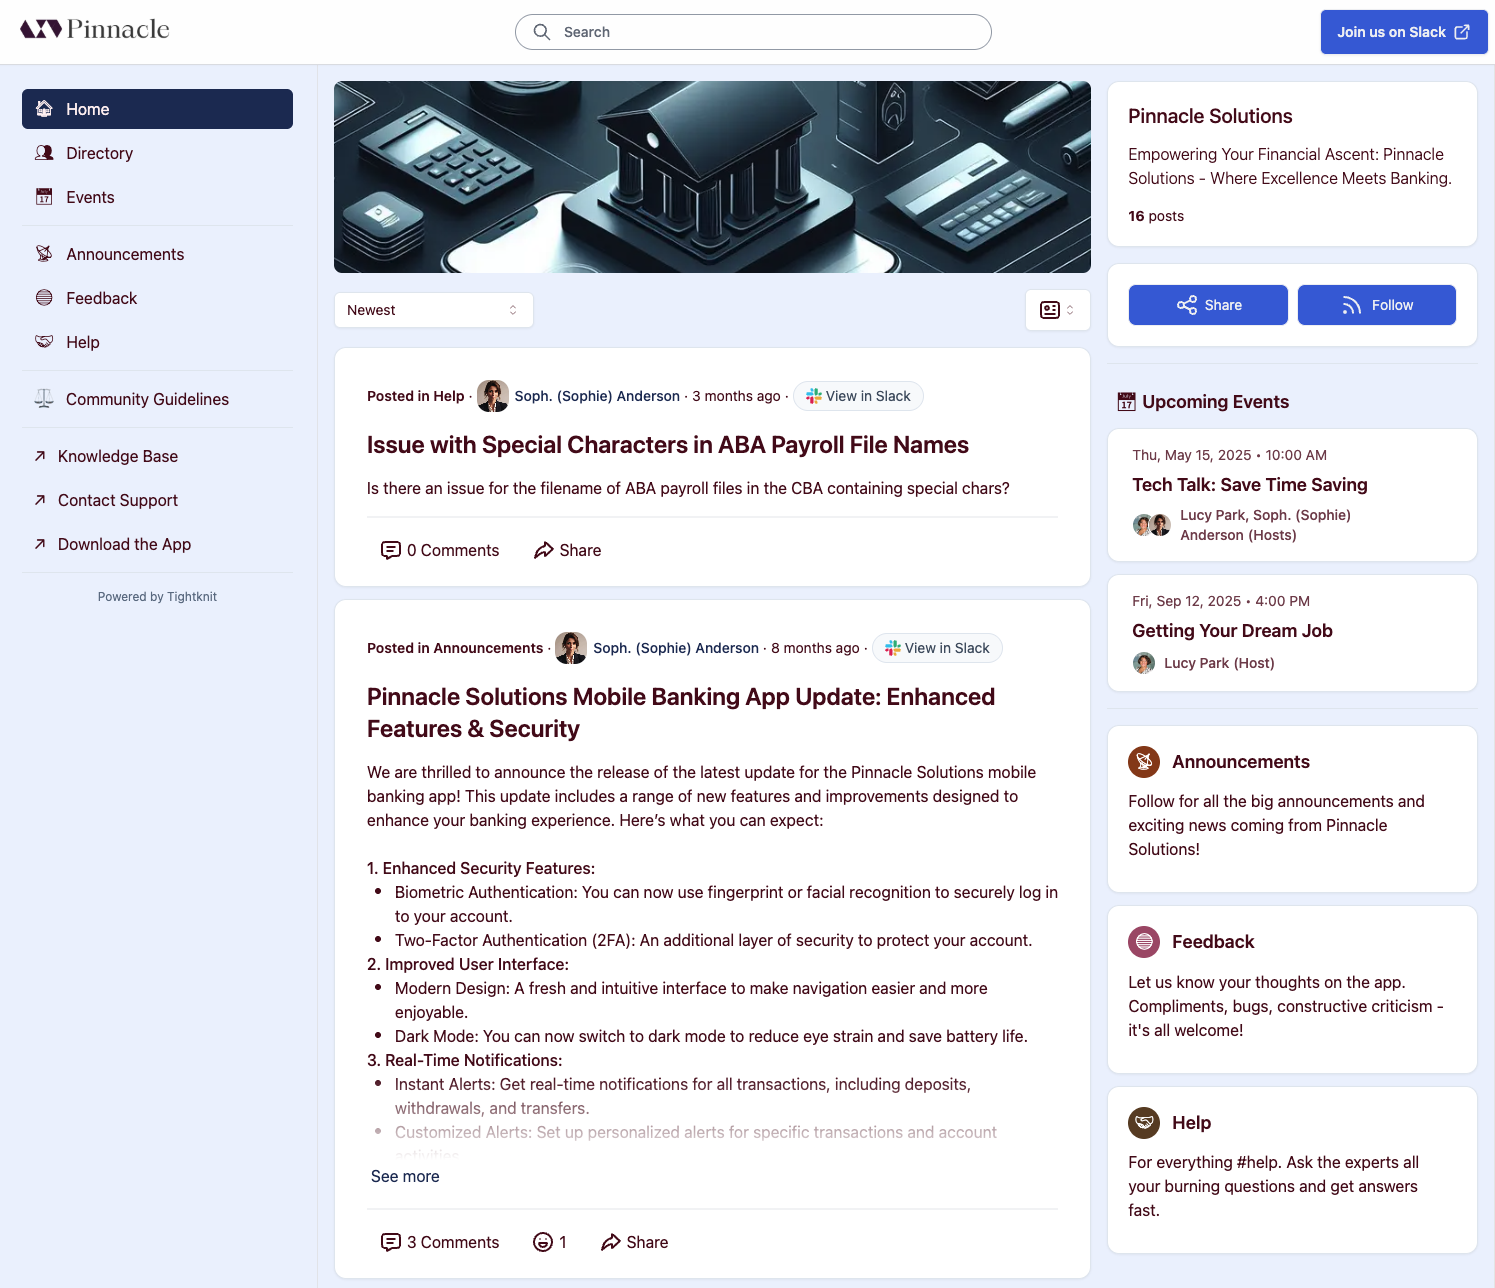
In Studio, go to Site and click Create community site to set up your public-facing community site. Choose your site URL, then activate the channels you want to sync and connect each one to a Feed. From Slack you can jump there with Community Site ➚ in the Community module.
Tightknit community site
Smoke test: send a message in an activated channel and confirm it appears on your site. Only messages sent after a Feed is created sync automatically.
5
Apply your branding
Add your logo and colors so the site and Slack Home match your brand. See the Branding Guide for every asset, recommended size, and where to set it.
In the Member Engagement module, open Onboarding and write a message that greets new members and points them to your key channels. To send it from your own account instead of the Tightknit bot, authenticate when prompted. For small communities, a personal welcome drives more engagement. See New Member Onboarding.
Onboarding in the Member Engagement module
2
Set up a founding-member Journey
In the Gamification module, open Journeys and create a short onboarding path with a few Milestones, such as:
Join the workspace
Post an intro
Reply to a few threads
Register for an event
Attach an Award so members earn a badge when they finish. Set a completion window so only early joiners can earn the founding-member badge. See Journeys.
3
Invite your first 10 people
Start with your warmest contacts: customers, early users, or close colleagues. DM them personally before sending the Slack invite link. A heads-up dramatically improves join rates. Aim for around 10 members to start rather than opening the floodgates.
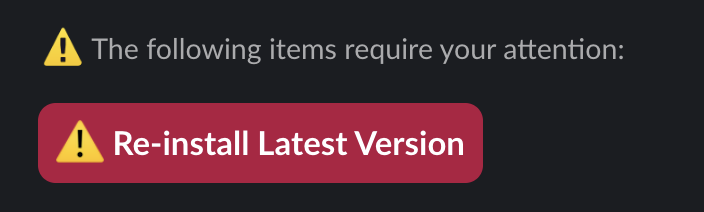
To get the latest features from Tightknit, you may occasionally need to reinstall the app. This is safe to do at any time and does not affect your community data. Tightknit warns you in the Slack App Home and in Studio when the app is out of date.Reinstall from the App Home warning, or visit slackapp.tightknit.ai/slack/install.
Re-install link in the App Home
Was this page helpful?
Assistant
Responses are generated using AI and may contain mistakes.