Set up a Slack workspace that’s ready to host your community.
Slack plan: Works on any plan, including Free.
Set up a Slack workspace that is ready to host your community. This guide covers workspace creation, essential settings, and how to prepare for Tightknit.
Skip this guide if you already have a Slack workspace.
1
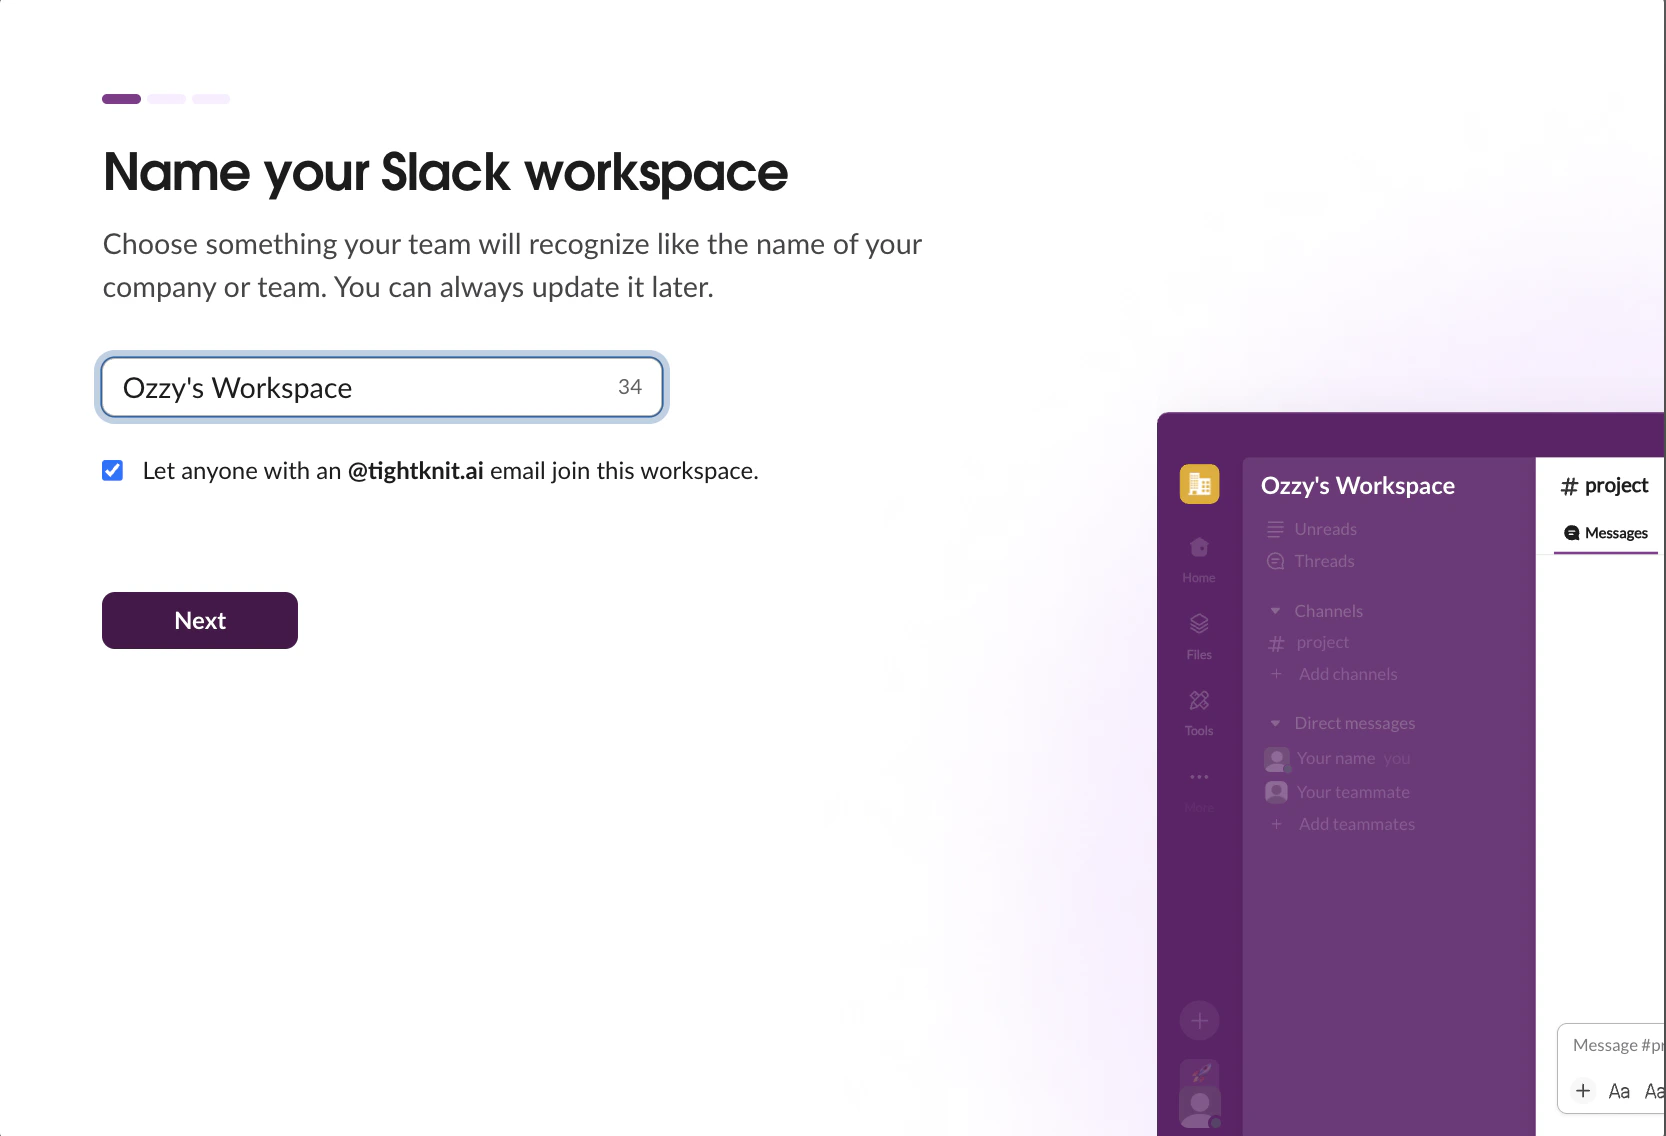
Create your Slack workspace
Click the + at the bottom of Slack’s left sidebar
Select Create a new workspace
Use your work email and name it (e.g. Ozzy's Workspace)
Naming your new Slack workspace
2
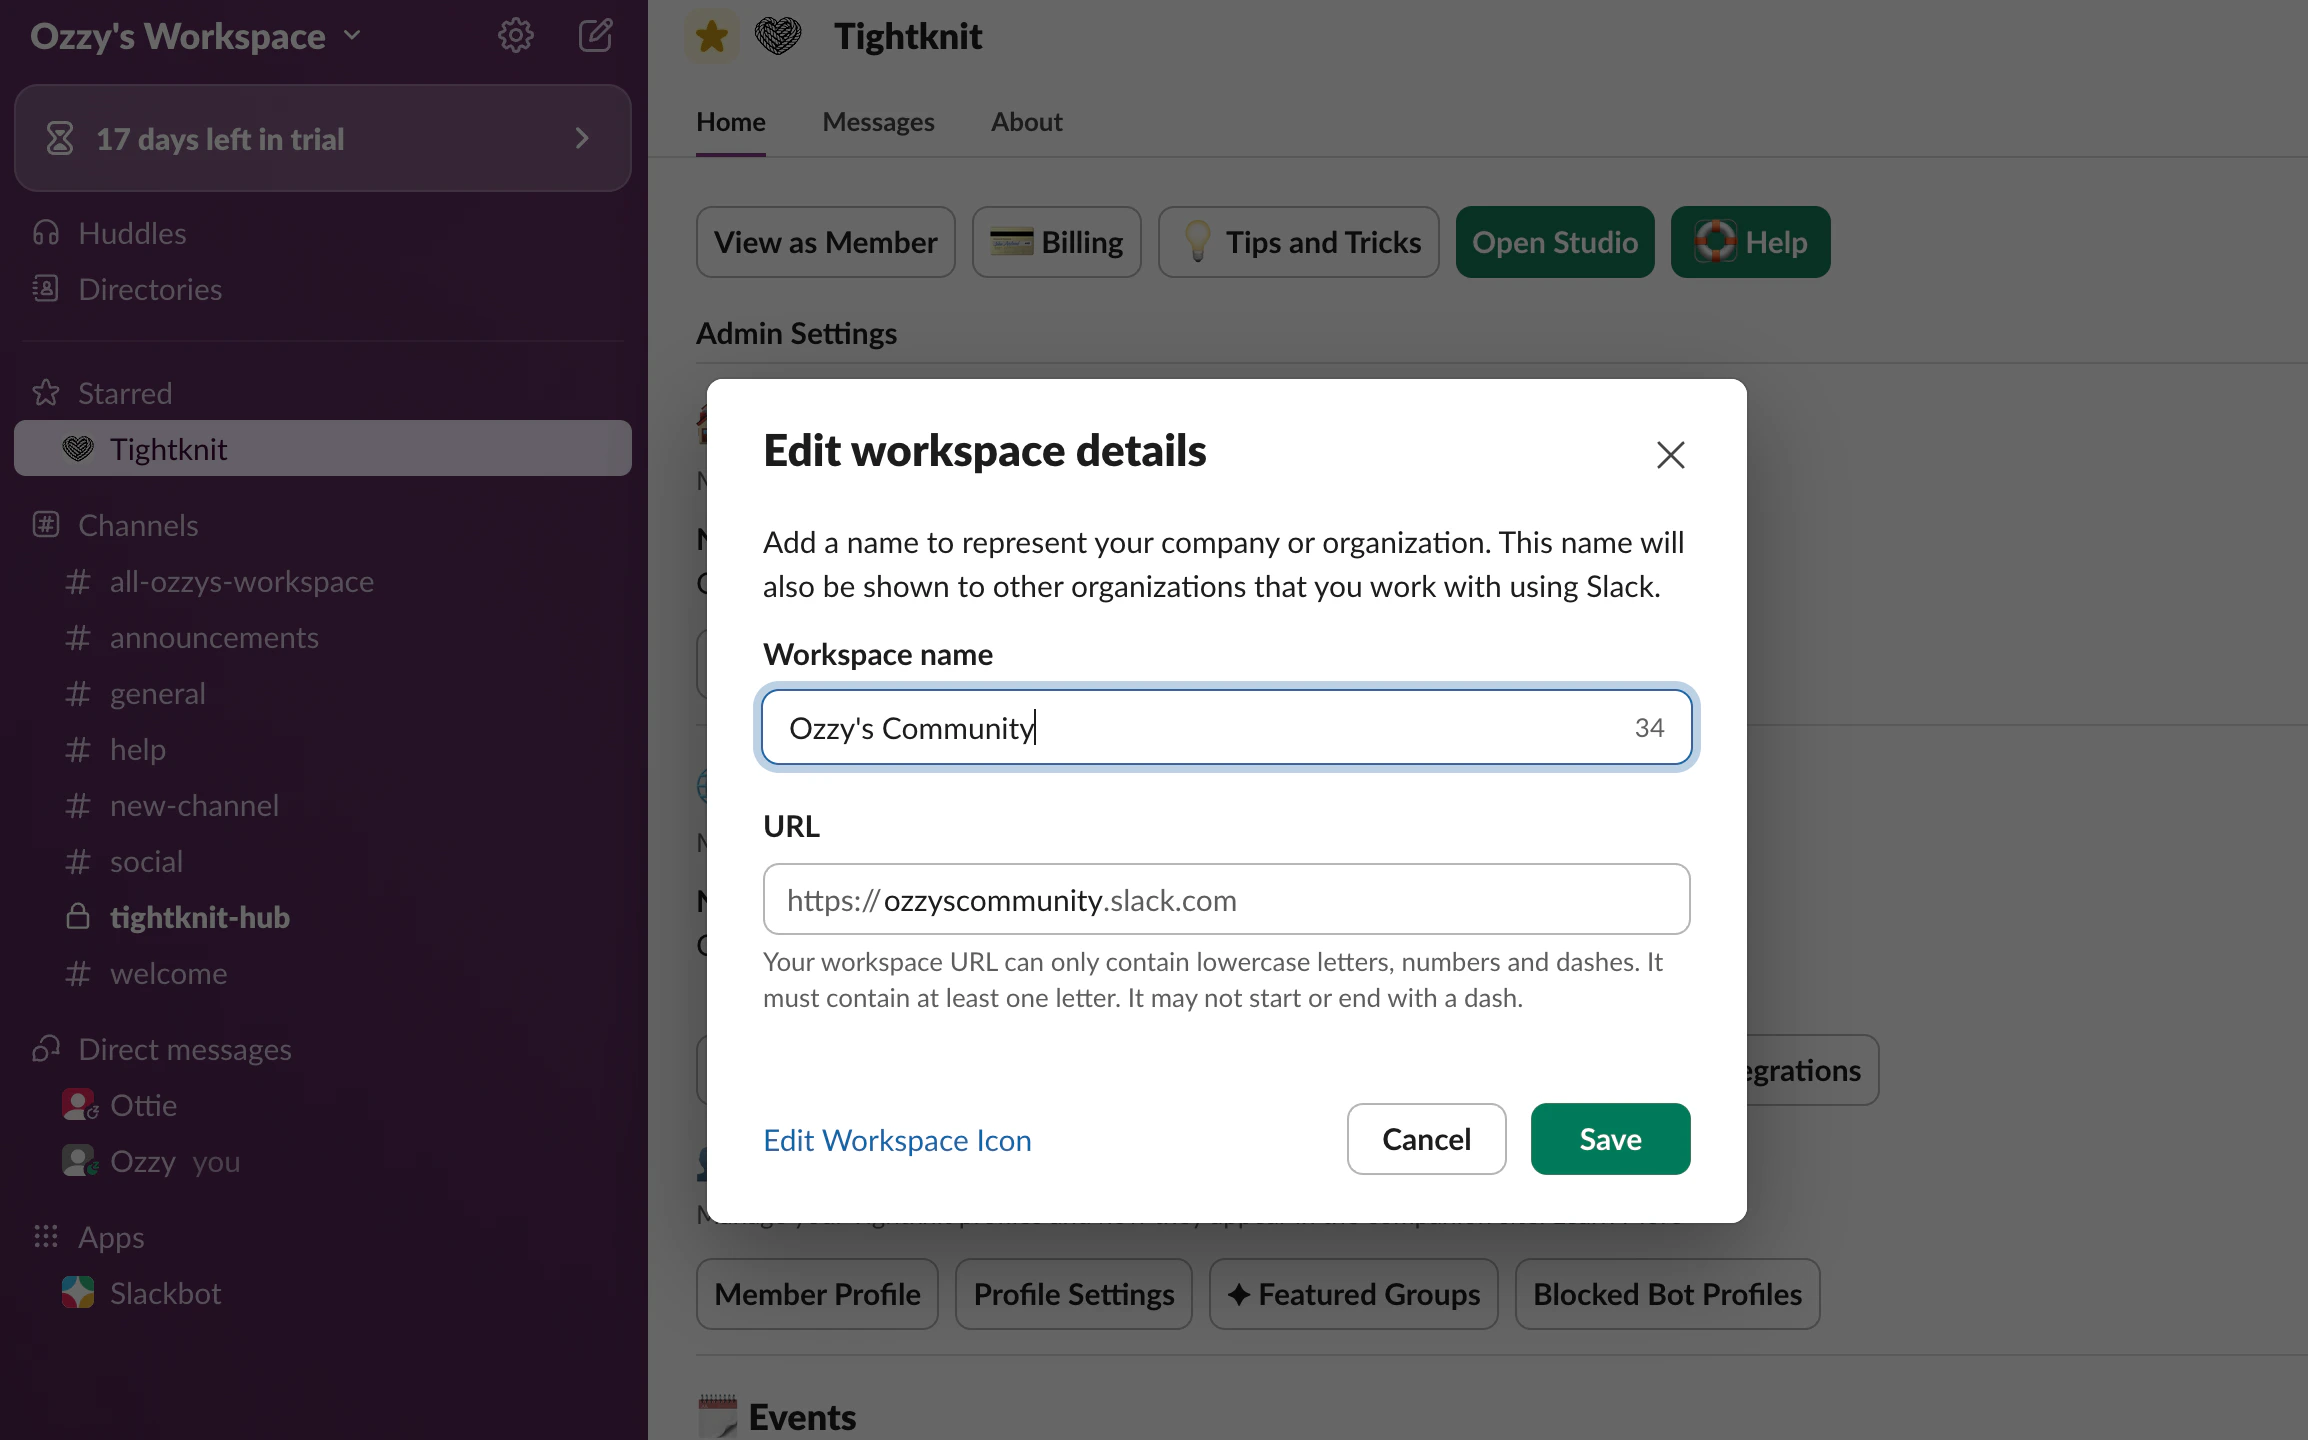
Set your workspace name and URL
Click your workspace name in the top-left corner
Select Tools & settings > Workspace settings
Under Workspace name and URL, set a clean, memorable URL. This becomes part of your Slack invite link
Editing workspace name and URL
3
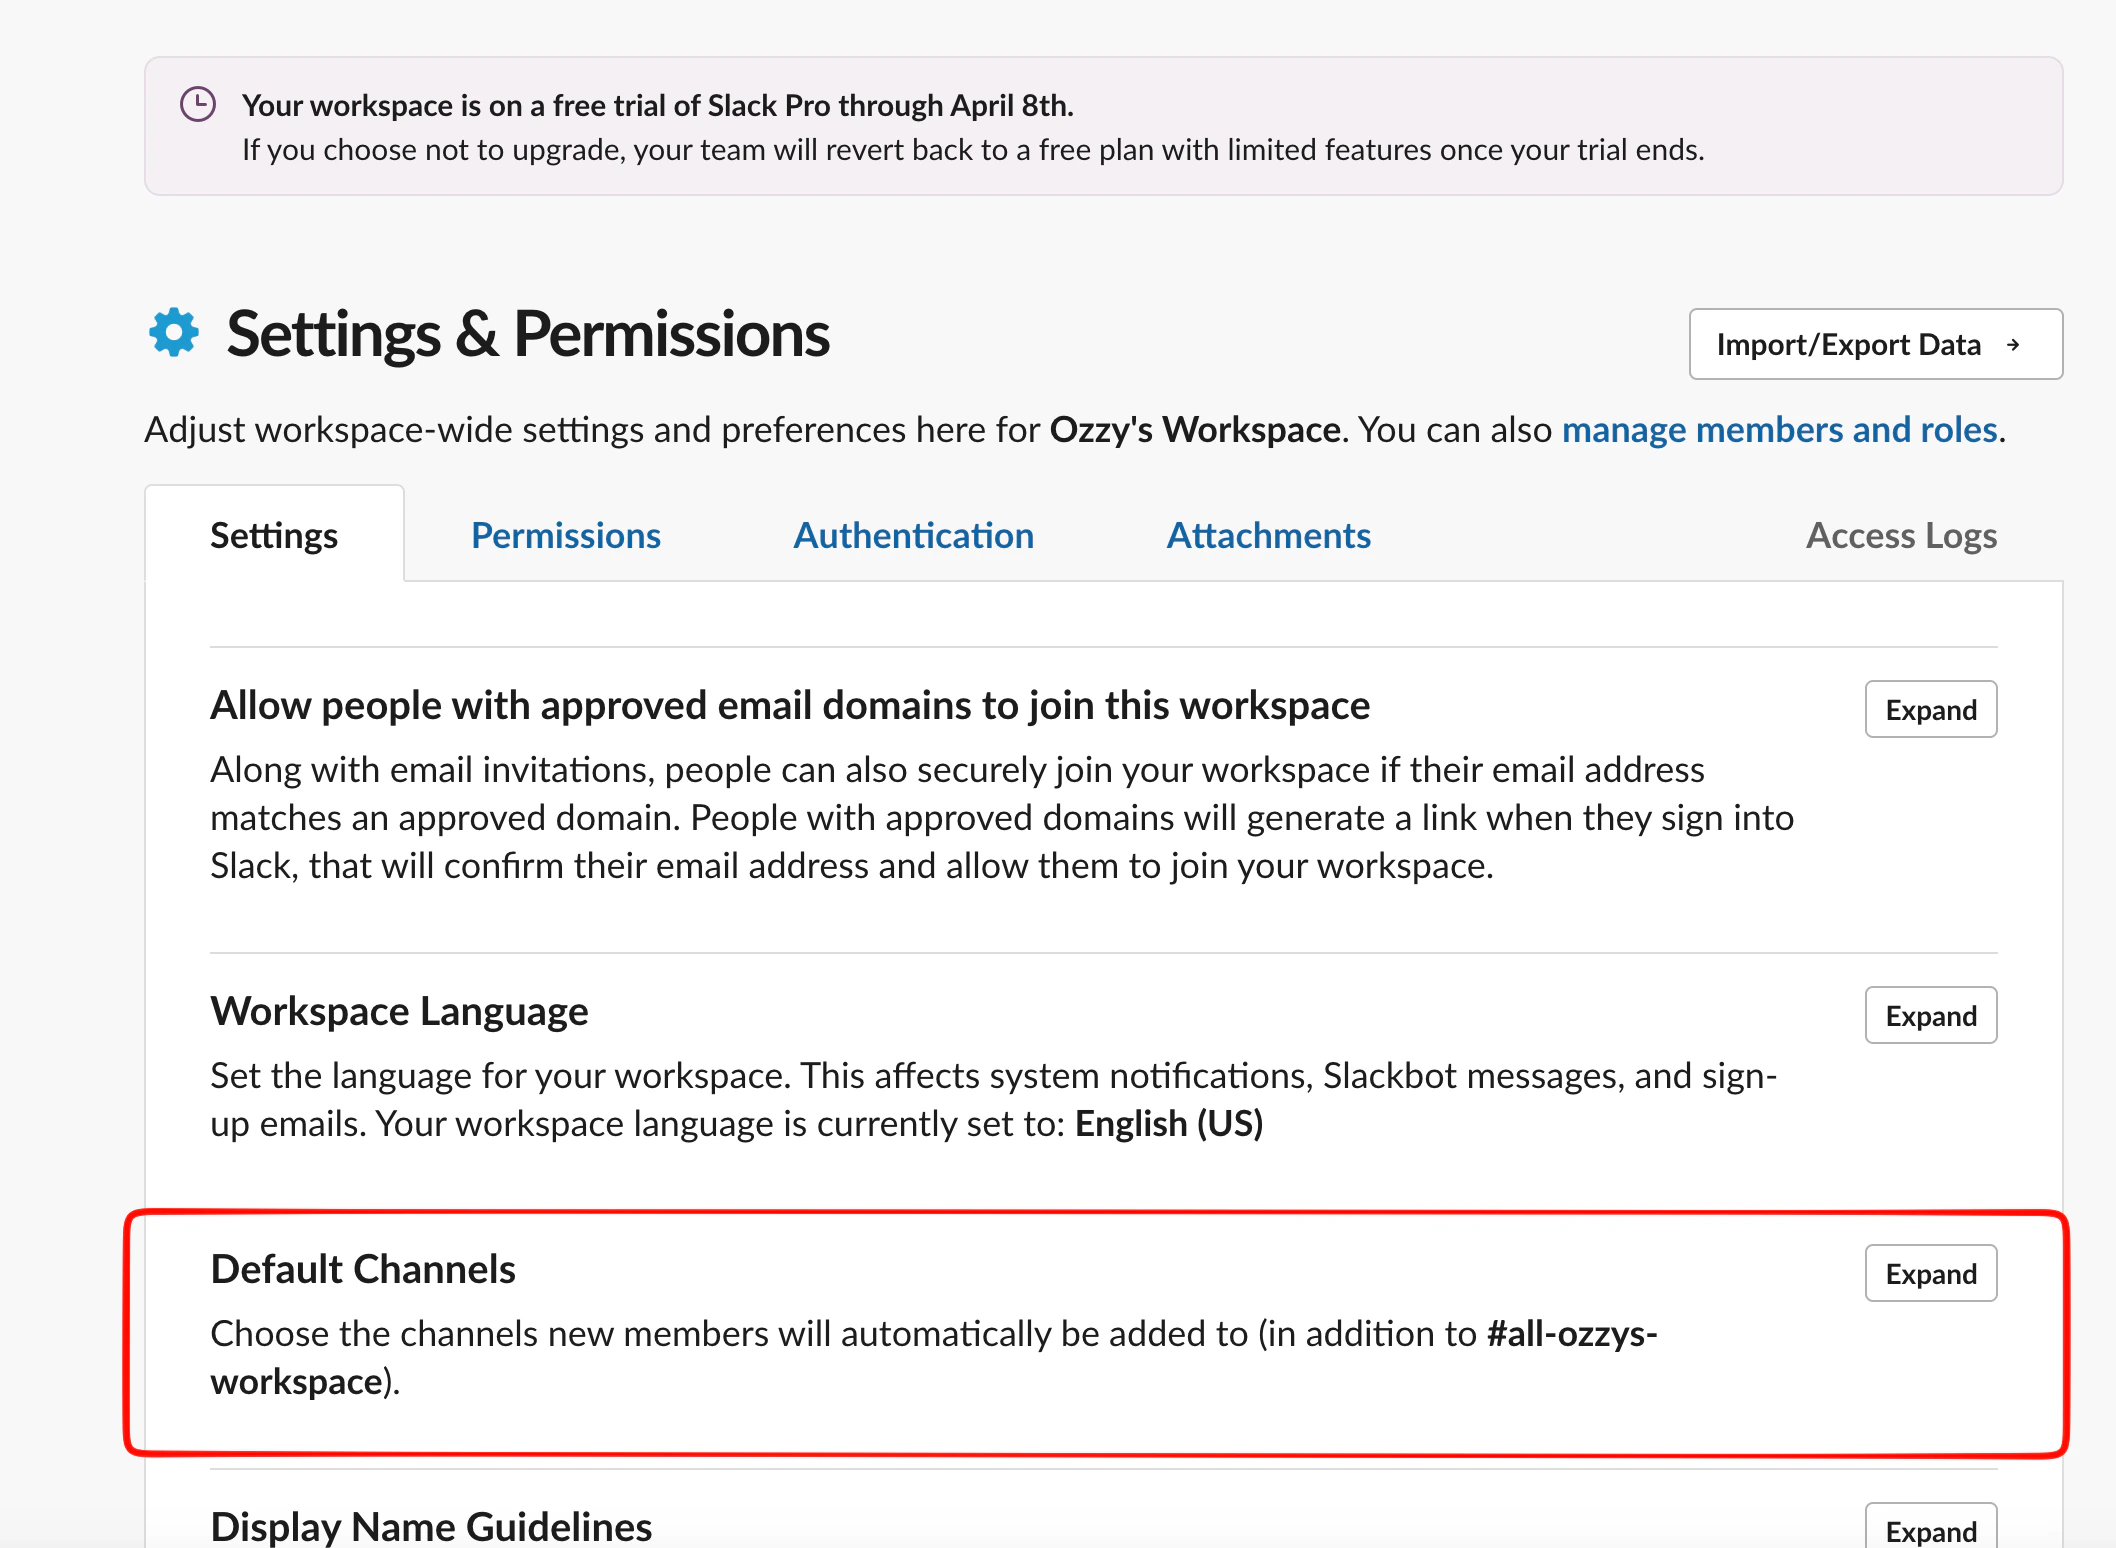
Set default channels
New members are automatically added to default channels when they join. Set these now so every member lands in the right place from day one.In Workspace settings, find Default Channels and click Expand.
Default channels settings
Add each of the four core channels:
#welcome-start-here — onboarding and community norms
#announcements — admin-only updates
#general — already set as default, no action needed
#help — questions and support
4
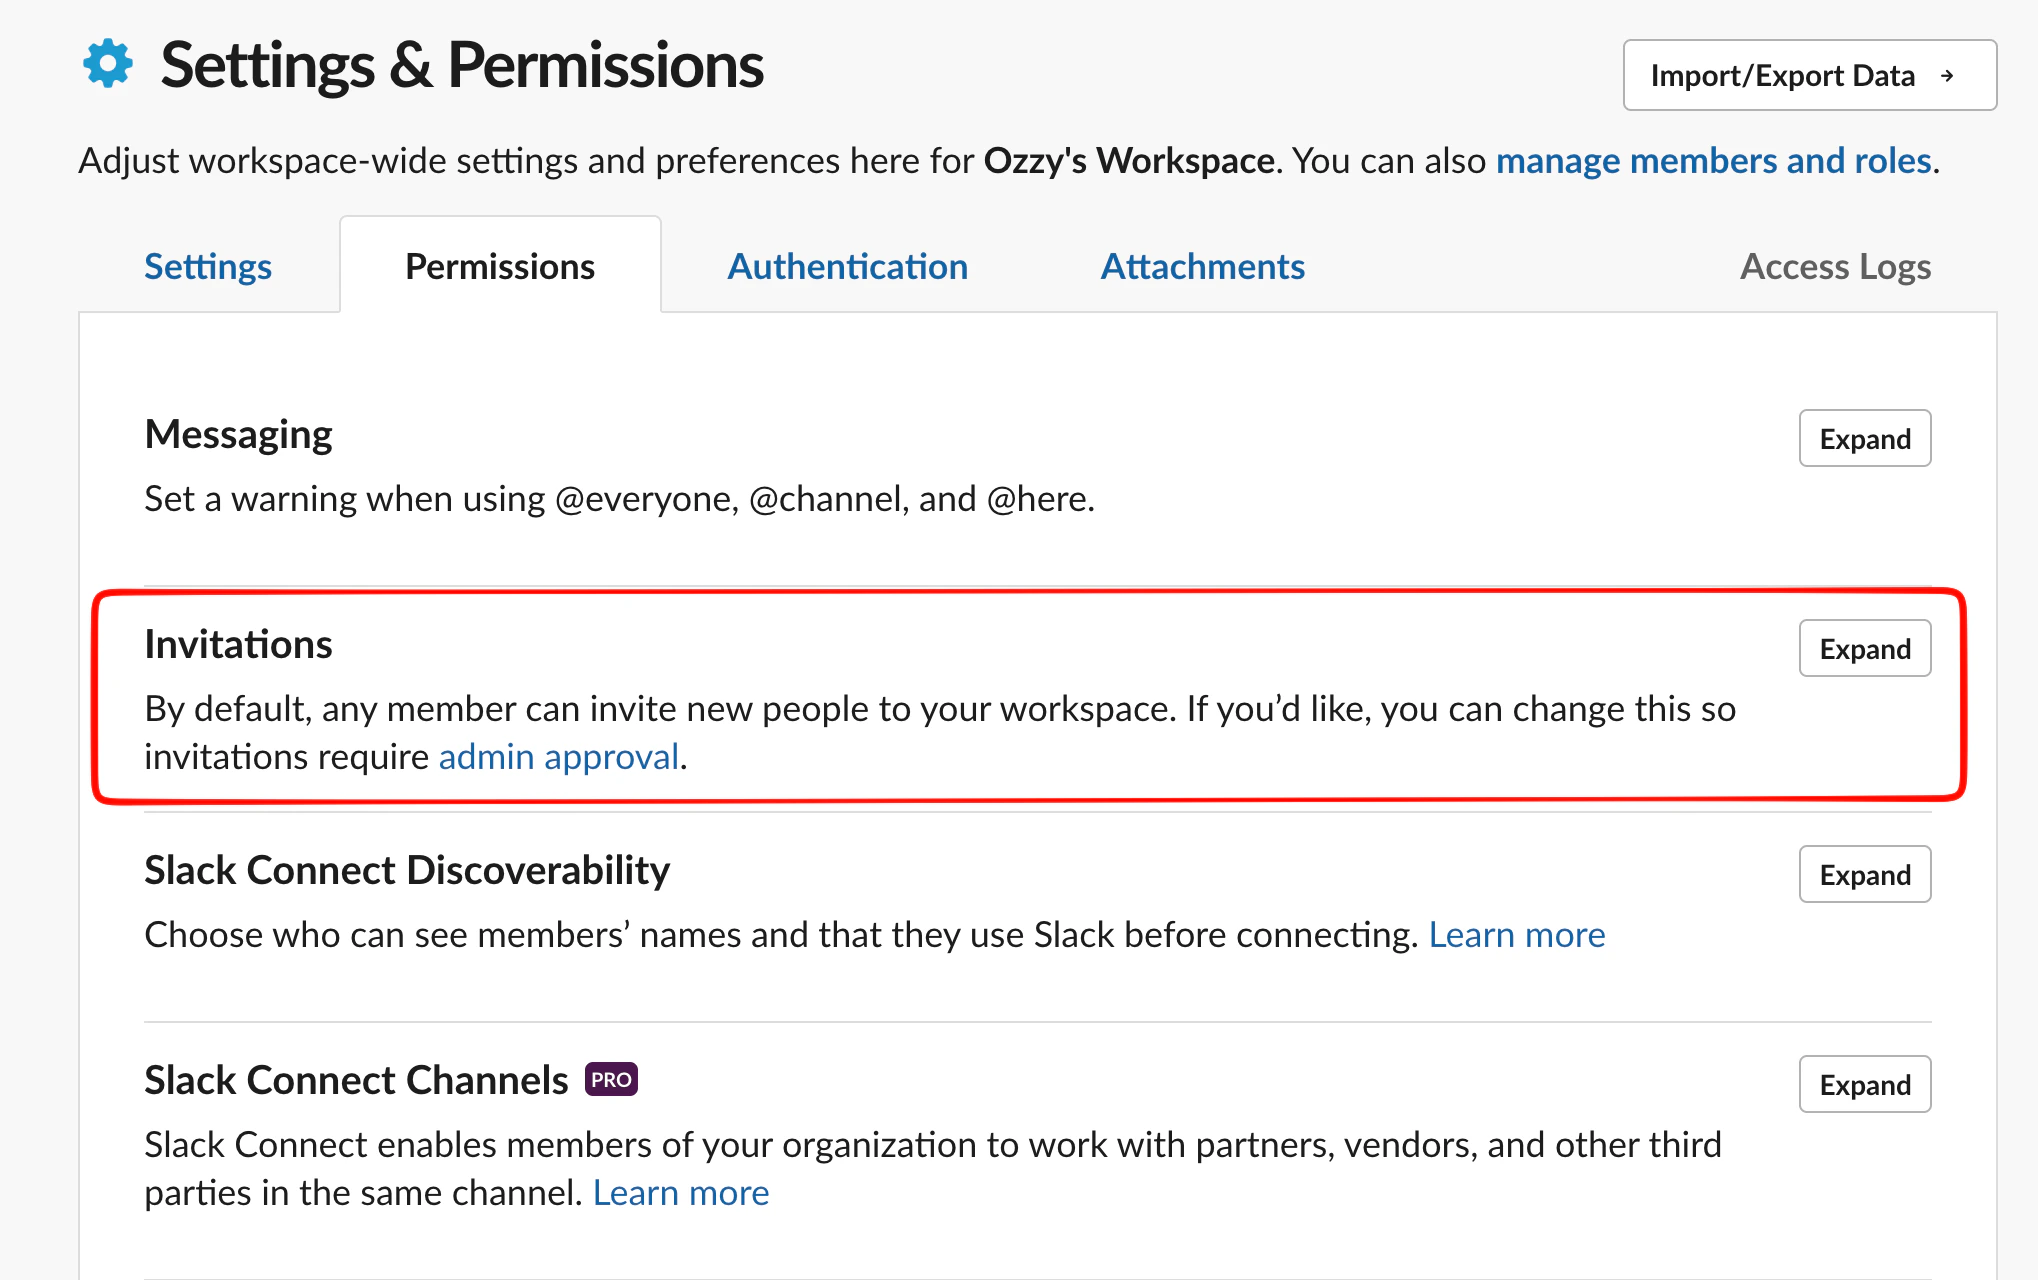
Control who can invite members
Go to Tools & settings > Workspace settings > Invitations
Choose who can send invitations:
All members — good for open communities
Admins only — good for invite-only or private communities
Invitation permission settings
5
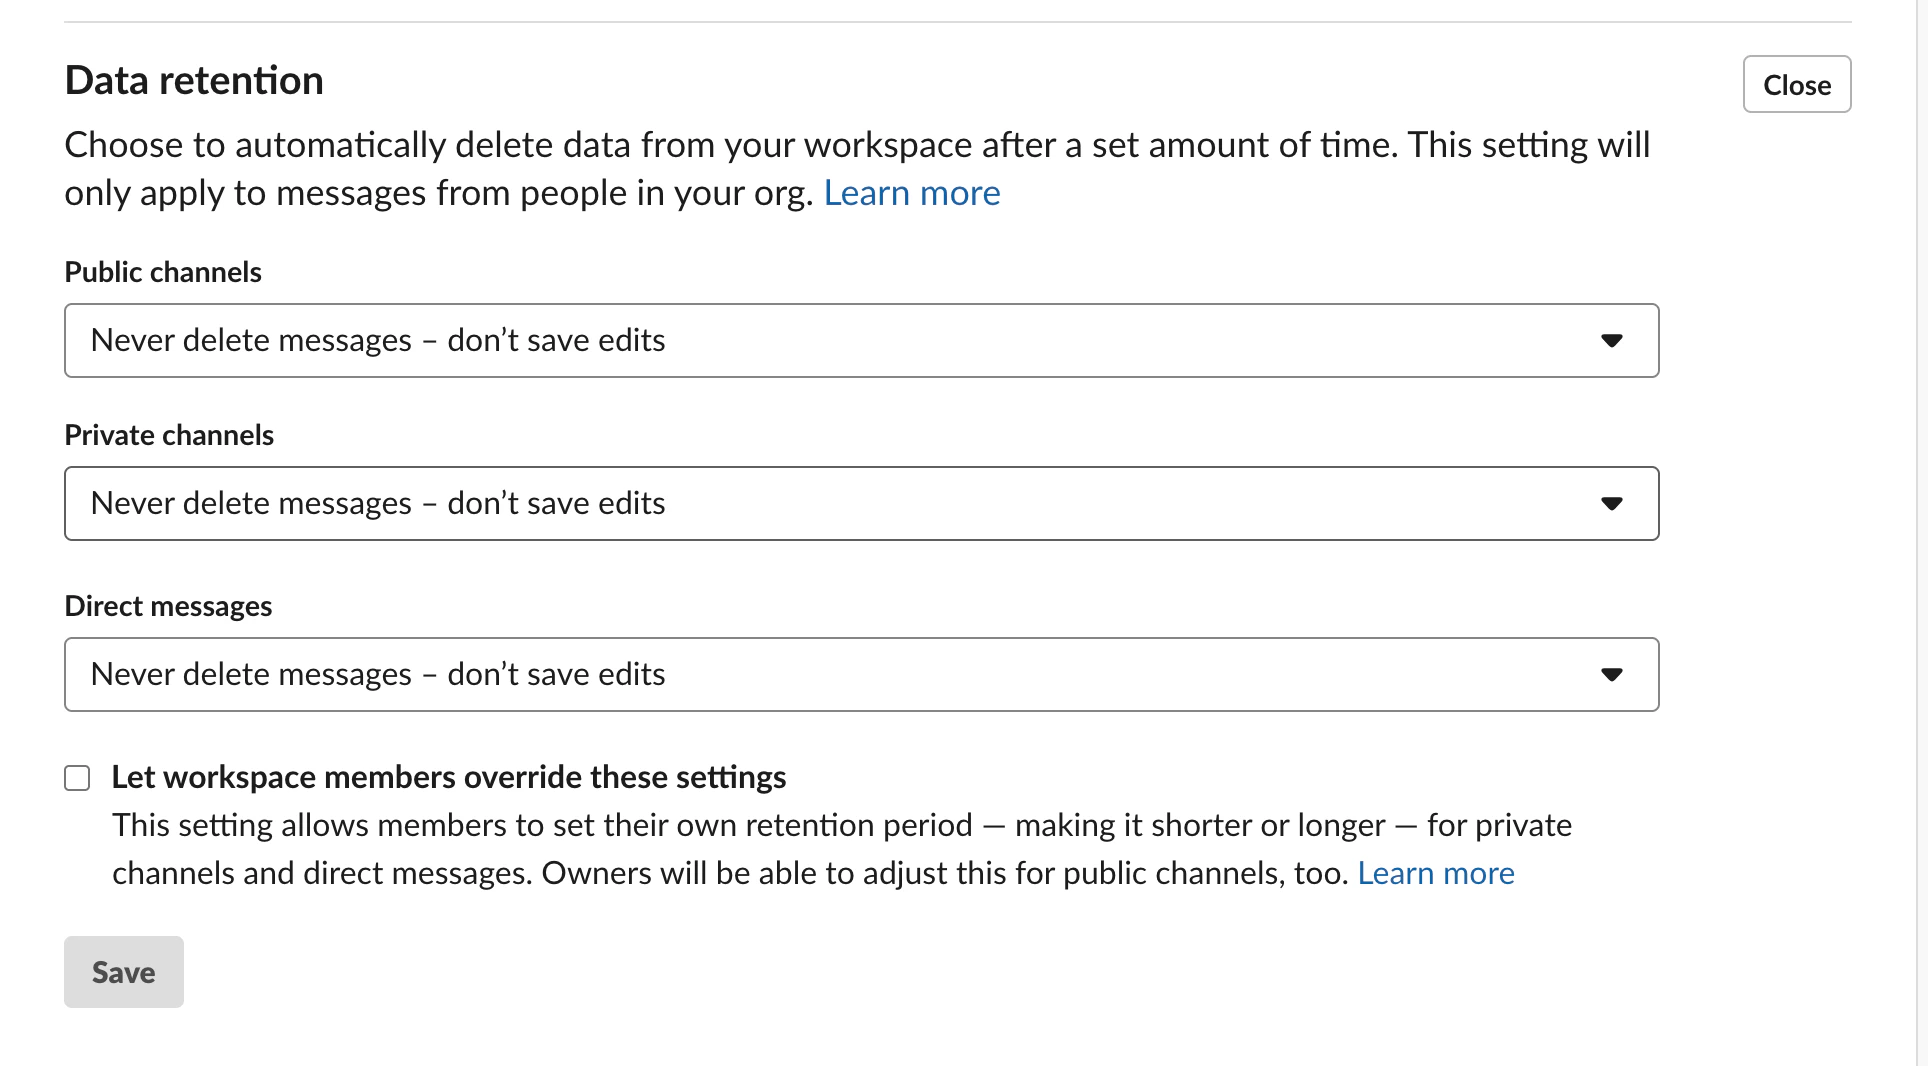
Set message retention
On Slack’s free plan, message history is limited. If you’re on a paid plan, consider setting retention policies for channels that will capture support content. Tightknit’s community site will make this content searchable, so long retention is valuable.
Message retention settings
6
Add yourself as Workspace Owner
If you created the workspace, you’re already the Owner. If someone else created it, make sure you have Owner or Admin access before installing Tightknit.
Go to Tools & settings > Manage members
Find your name and confirm your role shows as Owner or Admin