Create and manage Groups of community members for bulk management and assignments, in Slack, in Studio via CSV import, or through the API.
A Group is a collection of community members. Groups are useful for managing large numbers of users at once, mass DMs (coming soon), assignments to other areas of the Tightknit platform, and more!
Groups support up to 100 members when managed through the Slack app, and up
to 1,000 members when imported from CSV in the Studio or managed through the
API.
Terminology: Note that Tightknit Groups are distinct from Slack’s “user
groups” (a
feature only on paid Slack Pro plans). For the purposes of this article, every
time we mention “Group” we are referring to the Tightknit feature.
Did you know you can manage group membership with our MCP server too? Try asking your agent: “Add everyone with an acme.com email address to the Customers group.”
Admins can manage groups from either the Admin Studio or directly in Slack. The two experiences differ in capability and scale, so pick the tab that matches where you’re working.
Studio
Slack
Navigate to the Groups page in the Admin Studio to view, search, and manage all of your community’s groups. The groups list displays each group’s name, slug, visibility, member count, Slack channel sync status, and creation date.
Groups page in the Admin Studio
From this page you can:
Search groups by name or slug
Create new groups (empty or from CSV)
Click any group to view its detail page with the full member roster
Click the Create Group button on the Groups page. You have two options:
Empty Group
From CSV
Create a group and configure it manually. Provide the following:
Name (required) — the display name for the group
Slug (optional) — a URL-friendly identifier; auto-generated from the name if not provided
Community Site Visibility — Public groups appear on the Groups page and member profile pages. Private groups are hidden from the community site.
After creation you’ll be taken to the group detail page where you can add members, assign a permission set, and configure an award.
Create group modal in the Admin Studio
The Groups page in Studio
Bulk-create a group from a list of email addresses. Prepare a single-column CSV with email addresses (up to 1,000 rows), then either paste the contents or drag-and-drop the file into the upload area.After submitting, Tightknit processes each email (finding existing member profiles or creating new ones) and displays a report showing which emails succeeded and which failed. Click View group to navigate to the newly created group.
CSV import creates member profiles for email addresses that don’t yet exist in your community. This requires the Create Standalone Members feature to be enabled on your plan.
Slug — the URL route for the group on the community site
Banner Image — an optional hero image displayed at the top of the group’s detail page on the community site. Upload a banner when creating or editing a group in the Studio. For the best results, use an image with dimensions of 2560 x 640 px (4:1).
Community Site Visibility — controls whether the group is visible on the community site
Permission Set — assign a Permission Set to the group; all members inherit the permissions
Membership Award — assign an Award to the group. All members automatically receive the award and only retain it while they are a member. When you add or remove members, the award is automatically given or revoked, respectively.
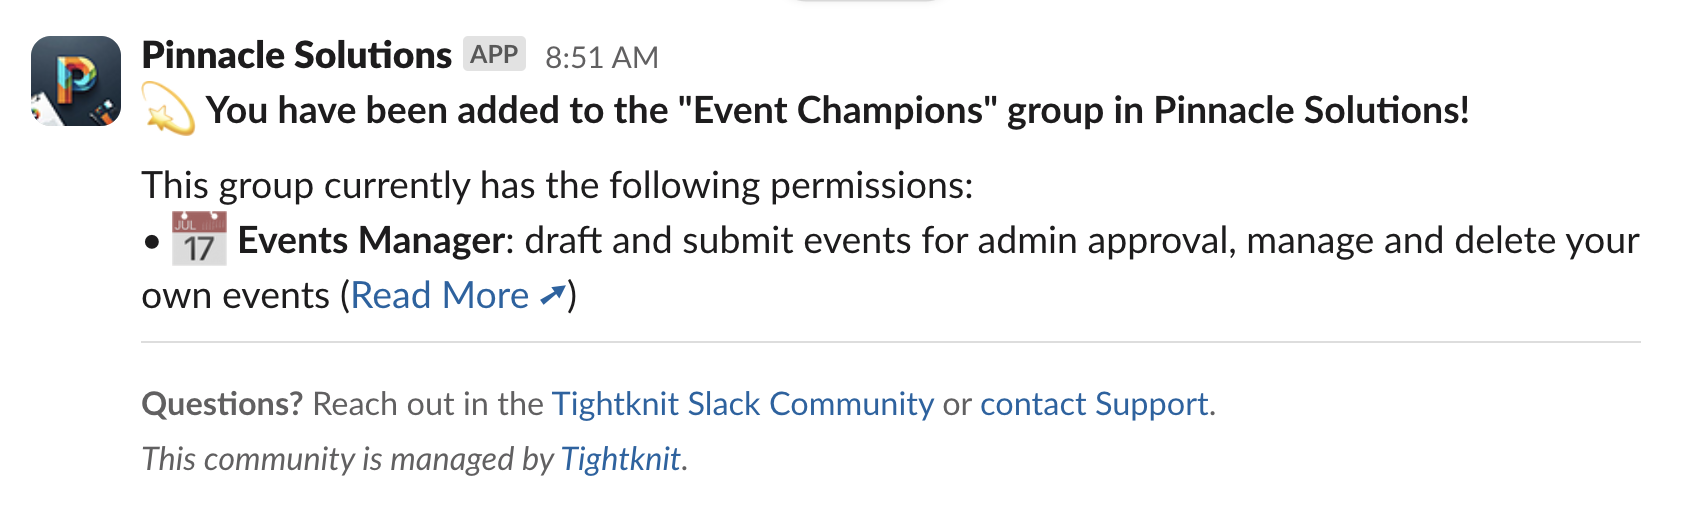
Notify New Members — when enabled, new members added to the group receive a private notification DM informing them of their membership and any inherited permissions
You can also bulk-add members to an existing group. Open the Import Members dialog from the group detail page or via the Cmd+K command palette (Import Members from CSV). Select the target group, then paste or upload a CSV of email addresses (up to 1,000 rows). A results report shows which imports succeeded or failed, and you can check the Import History page for past import jobs.
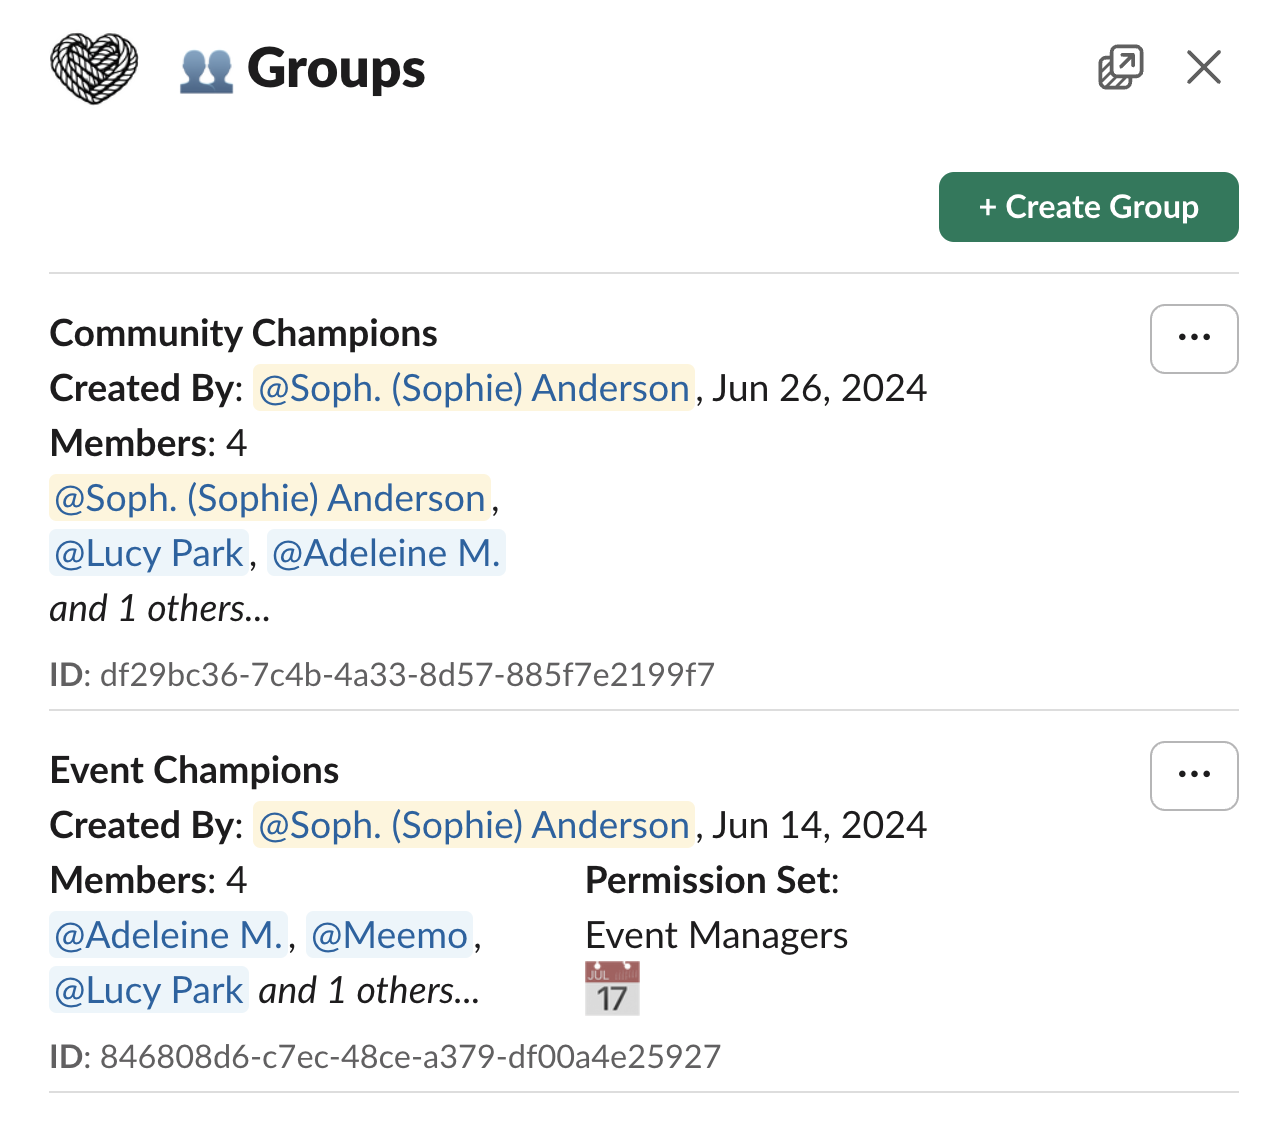
Admins can manage Groups from the Slack app by clicking the Groups button under the Community module.
Groups list panel
From the Groups List panel, admins can view, manage, and create groups with up to 100 members. For larger groups, CSV imports, membership awards, and notification preferences, use the Studio tab.
Within the Slack app, you can only add or remove Slack users in a group. To manage non-Slack members, use the Studio Groups page.
Click the Settings button in the Groups List panel to configure:
Groups Page Banner Image — displayed at the top of the Groups page on the community site. Only available when your community has a community site. For the best results, use an image with dimensions of 2560 x 640 px (4:1). Other ratios are cropped from the center to fill the 4:1 frame. Create with Canva template →
Groups Page Settings are not yet available in the Studio.
Flair is a short label badge that displays next to a member’s name on posts, comments, and profile pages. It lets communities highlight group membership (e.g. “MVP”, “Staff”, “Expert”) directly in the feed without visitors needing to click into a profile.Flair is per-group, opt-in, and off by default. Admins make a group eligible for flair, and members choose which group’s flair to display.
When creating or editing a group in the Studio, configure two settings:
Flair label — a short label up to 7 characters (e.g. “MVP”, “Staff”). This is the text that appears in the badge.
Show flair in feed — a toggle that controls whether the flair appears on posts and comments. Both the label and the toggle must be set for the flair to display.
Private groups cannot show flair. If a group’s visibility is set to Private, the flair toggle is disabled. Change the group to Public visibility first if you want to use flair.
Members select which group’s flair to display from Settings > Profile on the community site. A member shows at most one flair at a time. If a member belongs to multiple flair-eligible groups, they pick which one to display.The selection is self-healing: if the group later loses flair eligibility (label cleared, toggle turned off, group made private, or the member leaves the group), the flair stops displaying automatically.
When you add, swap, or clear the Membership Award on a Group, Tightknit automatically updates every current member:
Add an award (none → Award A): every member receives Award A, along with a Slack DM, activity log entry, and outbound webhook event.
Swap the award (Award A → Award B): Award A is revoked from every member and Award B is assigned. Only the Award B assignment triggers a DM. The Award A revocation is silent to avoid a confusing “you lost an award” notification.
Clear the award (Award A → none): Award A is silently revoked from every member. No DMs are sent.
Slack DMs are only sent to members with a connected Slack user.
Was this page helpful?
Assistant
Responses are generated using AI and may contain mistakes.