> ## Documentation Index
> Fetch the complete documentation index at: https://docs.tightknit.ai/llms.txt
> Use this file to discover all available pages before exploring further.
# Members
> Search, manage, and create community member profiles in Studio
export const PlanAvailability = ({feature = 'This feature', plan = 'enterprise', addon = false, plural = false, support = false, growth, momentum, enterprise, children}) => {
const rank = {
growth: 0,
momentum: 1,
enterprise: 2
};
const normalize = value => {
if (value === true || value === 'included' || value === 'yes') {
return 'included';
}
if (value === 'addon') {
return 'addon';
}
return 'none';
};
const defaultStatus = p => {
if (rank[p] < rank[plan]) {
return 'none';
}
return addon ? 'addon' : 'included';
};
const overrides = {
growth,
momentum,
enterprise
};
const status = p => overrides[p] === undefined ? defaultStatus(p) : normalize(overrides[p]);
const plans = [{
key: 'growth',
label: 'Growth'
}, {
key: 'momentum',
label: 'Momentum'
}, {
key: 'enterprise',
label: 'Enterprise'
}];
const included = plans.filter(p => status(p.key) === 'included');
const asAddon = plans.filter(p => status(p.key) === 'addon');
const verb = plural ? 'are' : 'is';
const srSentence = [feature, verb, 'available on:', included.map(p => `${p.label} plan`).join(', ') || 'no plans', asAddon.length > 0 ? `; as an add-on: ${asAddon.map(p => `${p.label} plan`).join(', ')}` : ''].join(' ');
const statusCell = s => {
if (s === 'included') {
return ;
}
if (s === 'addon') {
return Add-on;
}
return —;
};
return
{srSentence}
{feature}
{(support || children) &&
{support && <>
Contact Support if you
don't see this option or want to enable it for your community.
}
{children && <> {children}}
}
{plans.map(p =>
{p.label}
{statusCell(status(p.key))}
)}
;
};
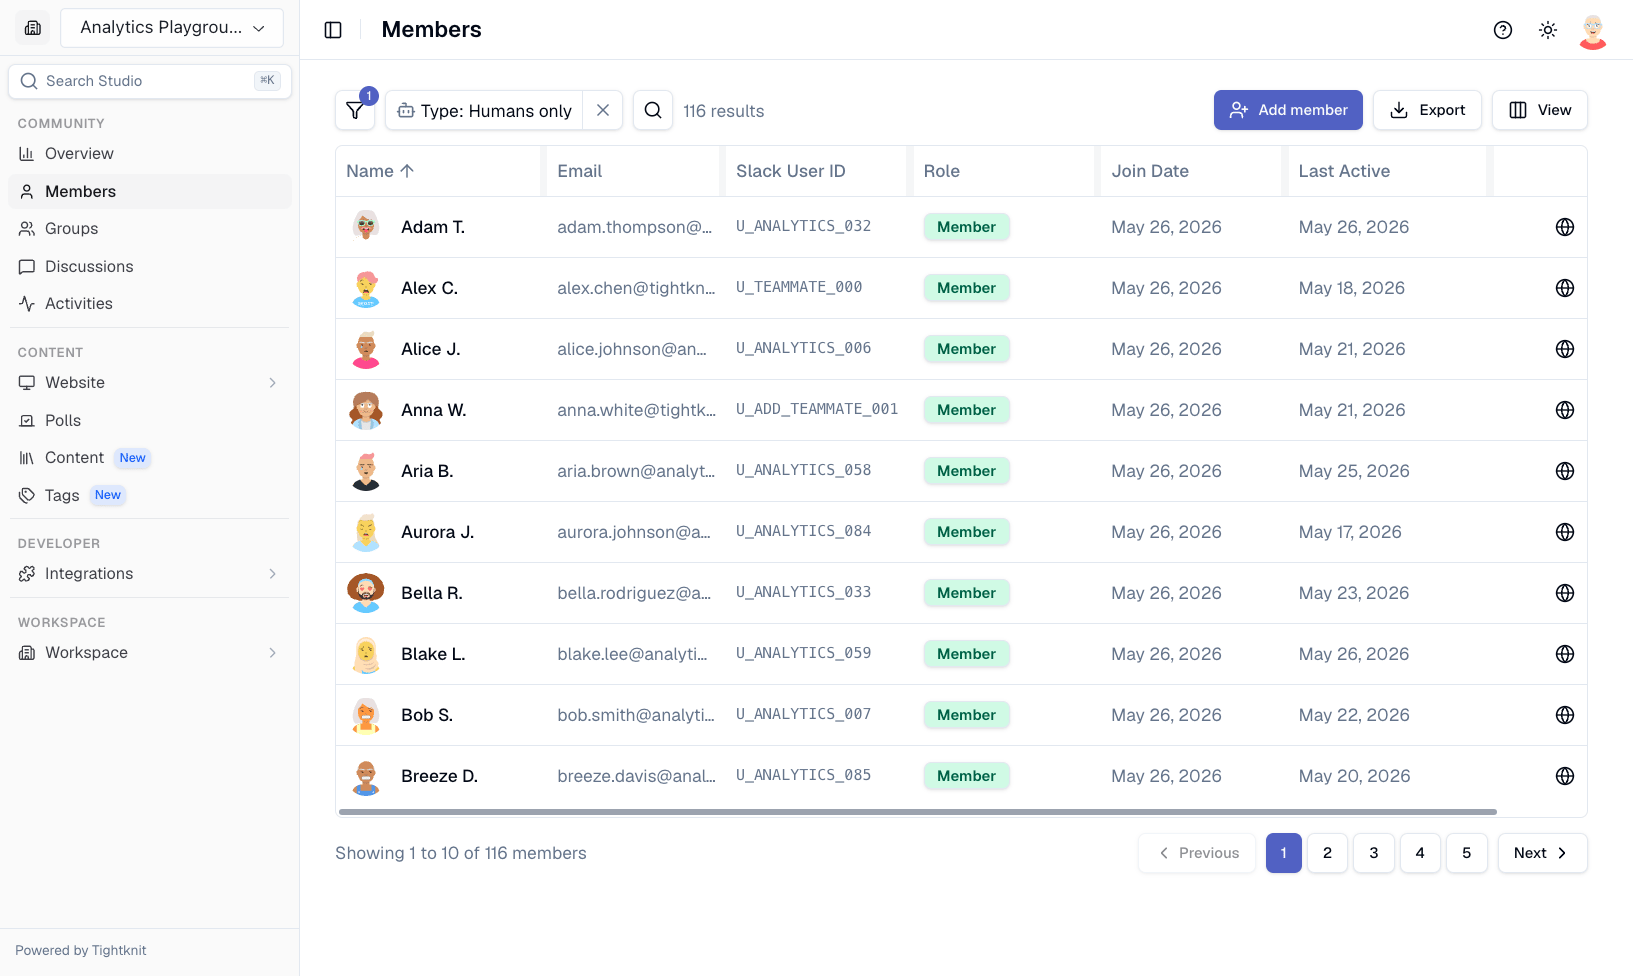
Use Members to search, filter, and manage your community members. You can find members by name or email, filter by role (Admin, Member, Bot, Non-bot), and sort by name, last name, role, join date, or last active. Click a member's name to see more details and access their profiles on web and Slack.
## Creating Members
Admins can create new members directly in Studio without requiring a Slack connection. This is useful for adding members who may not be in your Slack workspace yet or for seeding your community with member data.
### Single Member Creation
To create a single member:
1. Navigate to **Members** in Studio
2. Click **Create Member**
3. Fill in the member's details (name, email, etc.)
4. Click **Create** to add the member
### Bulk Member Import via CSV
To import multiple members at once:
1. Navigate to **Members** in Studio
2. Click **Create Member** and select the bulk import option
3. Upload a CSV file containing member data. You can download a [template CSV](https://assets.tightknit.ai/files/member-import-template.csv) to get started.
The CSV file supports the following columns: `full_name`, `email`, and `avatar_url`. The `avatar_url` column is optional.
[Download the CSV template](https://assets.tightknit.ai/files/member-import-template.csv) to see the expected format and column headers.
Bulk import supports a maximum of 3,000 members per import.
Members created through Studio are independent of Slack. They will not have a connected Slack profile unless they are already a member of your Slack workspace. They may also join the workspace at a later date, and Tightknit will link their Slack account.
## Deactivating and Reactivating Members
Admins can deactivate a member to revoke their access to the community. Deactivated members cannot sign in and are visually marked as inactive (grayscale avatar with an "Inactive" badge) on their profile page.
To deactivate or reactivate a member, navigate to their member detail page in Studio.
For members without a linked Slack account, you can manage their status directly in Studio:
1. Open the member's detail page in **Members**.
2. Click the **Deactivate** (or **Reactivate**) action in the page header.
3. Confirm the action in the dialog.
Members with a linked Slack account are managed through your Slack workspace settings. Deactivating a user in Slack automatically deactivates them in Tightknit.
Follow Slack's guide on [deactivating a member's account](https://slack.com/help/articles/204475027-Deactivate-a-members-account) to deactivate or reactivate the user in Slack. The change cascades to Tightknit automatically.
Deactivating a member does not delete their profile or content. You can reactivate them at any time to restore access.
## Related topics
- [CLI & MCP Server](/integrations/cli.md)
- [Navigating Studio Analytics](/guides/navigating-studio-analytics.md)
- [Deactivate member](/api-reference/members/deactivate-member.md)
- [Add member](/api-reference/members/add-member.md)
- [Member Profile](/profiles/profile-fields.md)
 ## Creating Members