Learn how to use Make to connect Tightknit event registration to Slack notifications.
In this tutorial, we will use Make with Tightknit’s one-click event registration so that you get a notification in Slack each time a new user registers or unregisters for your event.
1
Create a new Scenario
To get started, open the scenario editor in Make and create a new scenario (instructions).
2
Add the Webhook trigger
Add the initial trigger module and search for “Webhooks”. Select “Custom webhook”.
Select the Custom webhook trigger
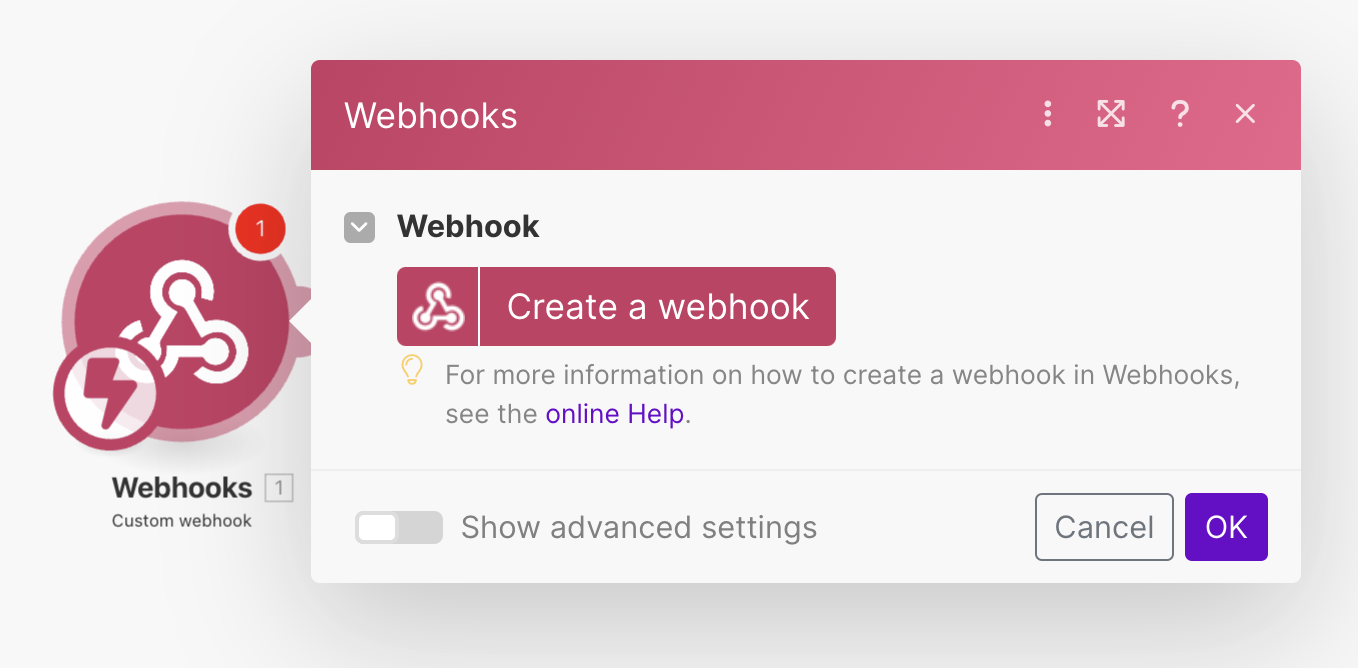
Click the Create a webhook button. Give the webhook a name such as “Webhook for Tightknit Events” and click Save.
3
Copy the Webhook URL
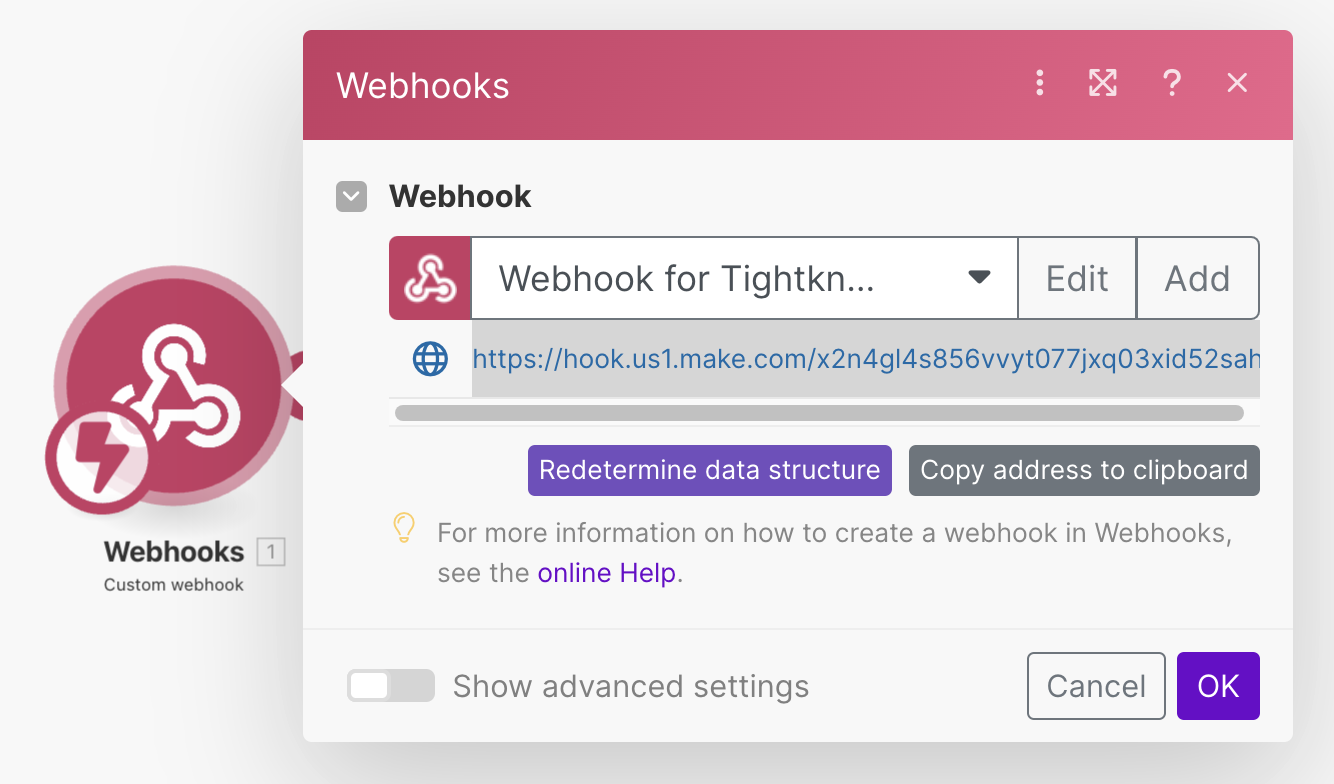
Locate the URL for your webhook and copy it. You can also click the Copy address to clipboard button.
Copy the webhook URL
4
Register the Webhook URL with Tightknit
In the Tightknit webhooks admin portal, create a new endpoint using the webhook URL from the previous step.
5
Use the Webhook with your Tightknit Event
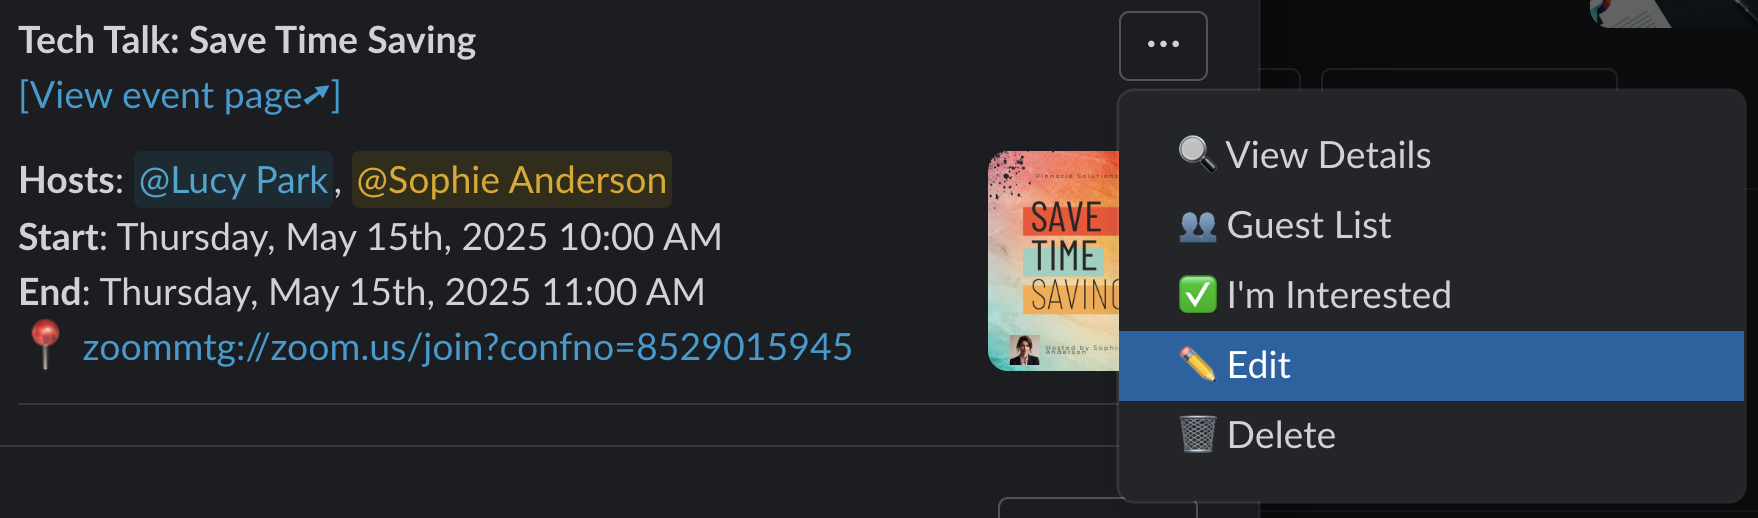
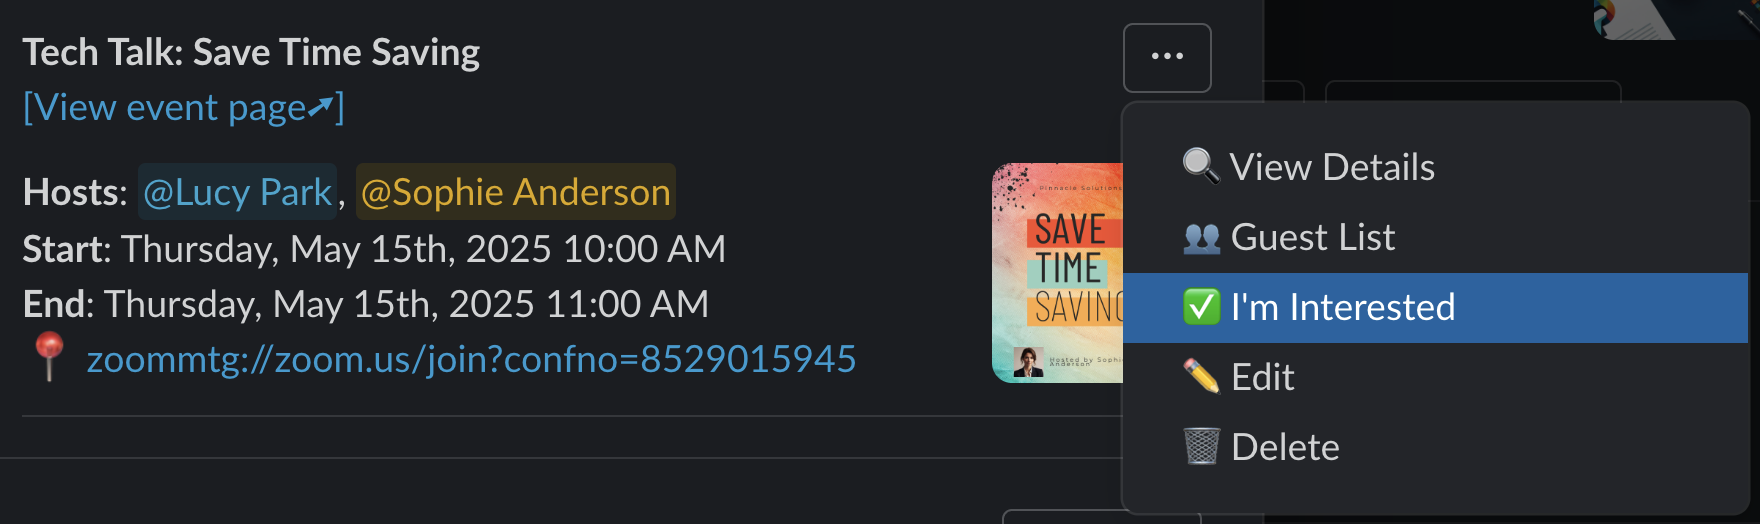
We need to update your event to use this new webhook. Open the Tightknit events list in Slack by clicking the Events button in the app home or by typing the \events command. Click the ••• menu next to your event and select Edit.
Edit event from the menu
Under the Registration Settings section, check the checkbox to Enable Webhooks. Click Save.Tightknit is now configured to send registration data to your webhook endpoint.
6
Test the Tightknit Webhook
It’s easier to work with sample data, so let’s do a test run. In the scenario editor, click the Run once button.
Click the Run once button
Make is listening for webhook data
Make will be listening for incoming webhook data.Now, back in Slack, register for your own Tightknit event. You can do this by clicking the ••• menu next to your event and selecting the registration option.
Select the registration option
The exact label of the registration option may differ depending on your
community’s configuration.
7
Verify Data Received by Make
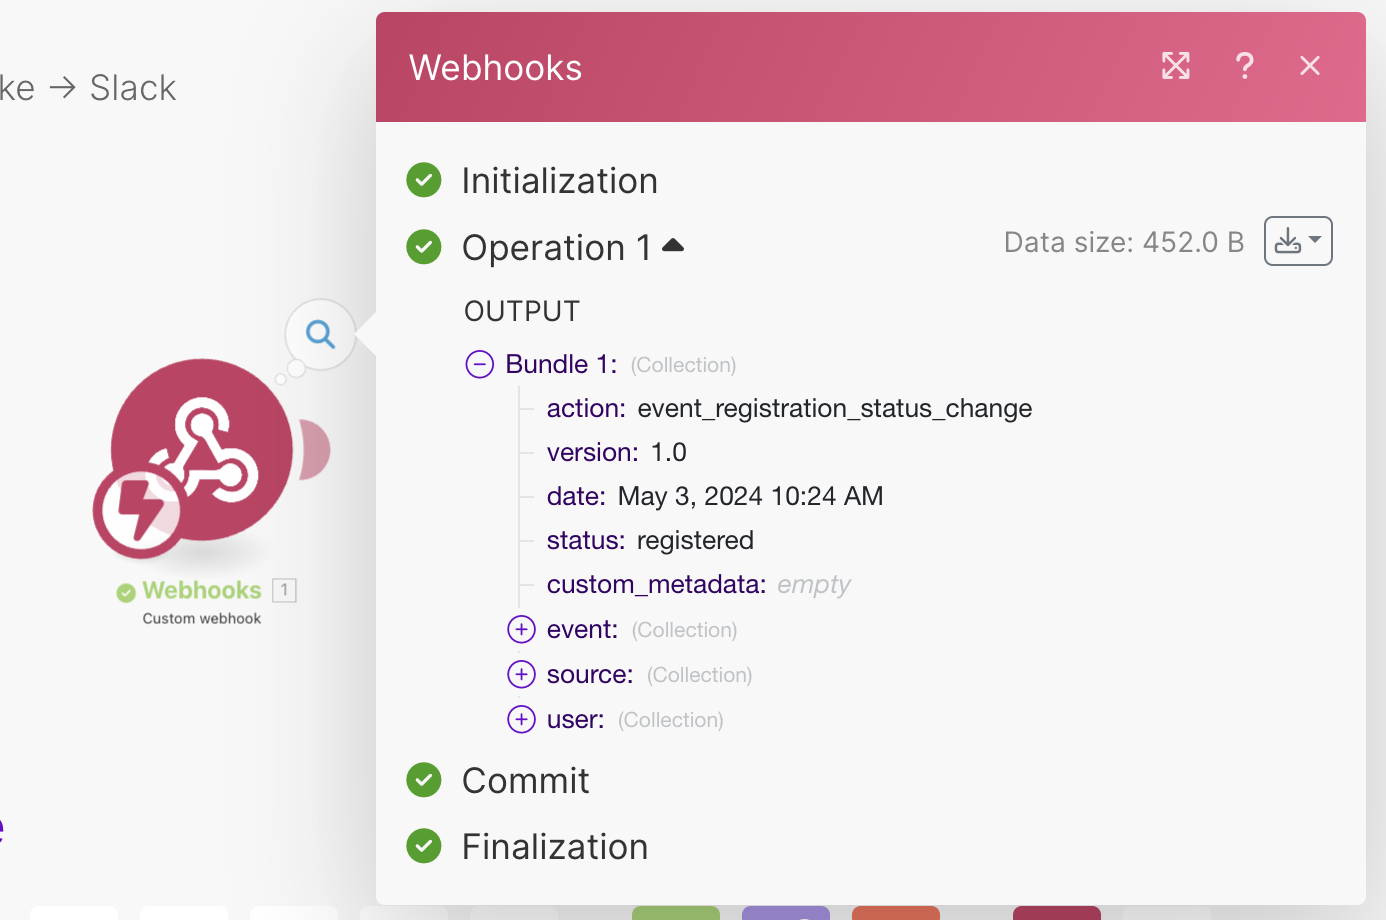
In the scenario editor, you should see that the scenario run was completed. Click the 1 bubble above the webhook module. This will show you the data that the webhook received from Tightknit.
Webhook data received from Tightknit
This sample data will give us useful visual aids in Make when selecting fields from the webhook data.
The shape of Tightknit’s webhook data may change. Please check the API
docs for the latest.
8
Add Slack module to scenario
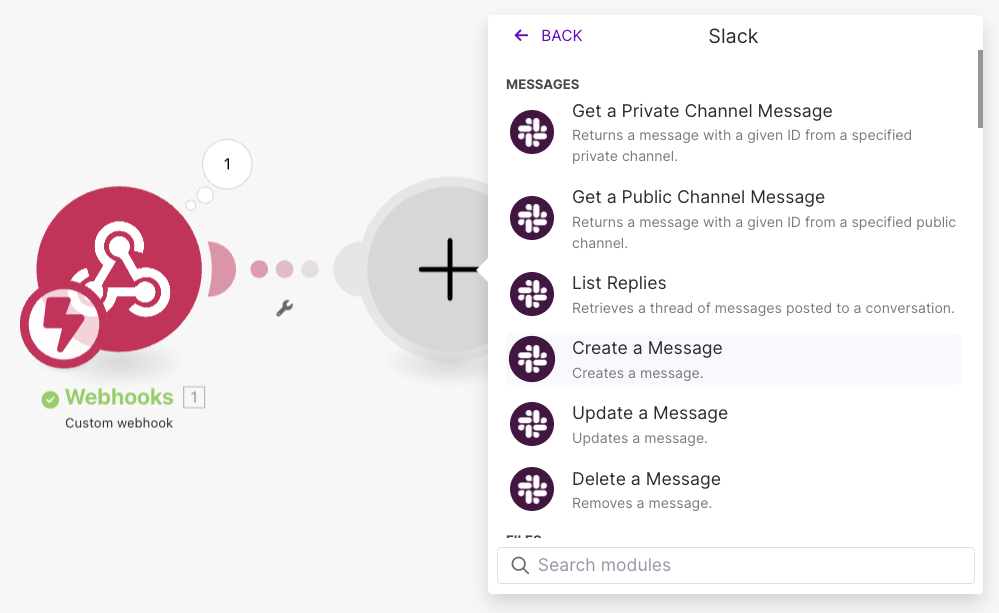
In the scenario editor, click the + action by hovering over the side of the webhook module. Search for “Slack” and select the “Create a Message” action.
Add the Slack Create a Message action
9
Configure Slack notification
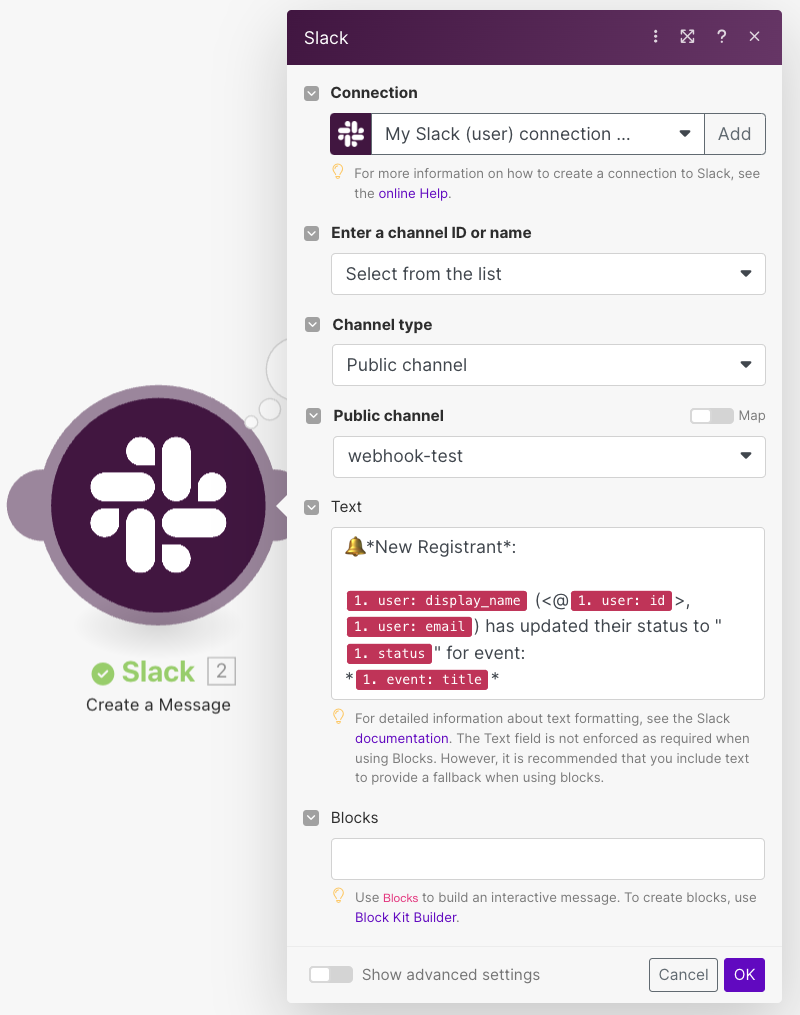
Log into your Slack account to authenticate the Make connection. This will require you to use the Integromat app in your Slack workspace.Configure the Slack module as follows:
Connection - specify which user/connection that will be the sender of the Slack message, such as your own Slack user
Channel ID or name - Select from the list
Public/Private channel - select the channel you want the notification message to be sent to
Text - here you can format the body of the notification message however you want! You’ll have access to variables from the webhook data which you can insert into the message. See below for an example notification body that makes use of the registrant user info and event info.
Keep in mind Tightknit will also send along any custom profile
fields
configured for Slack profiles in the workspace
(example). Consider adding some
profile fields if they would serve as helpful user registration info.
10
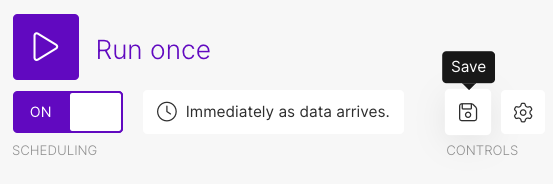
Save and Enable
Click the 💾 save button and switch on the toggle to enable your scenario.
Save the scenario
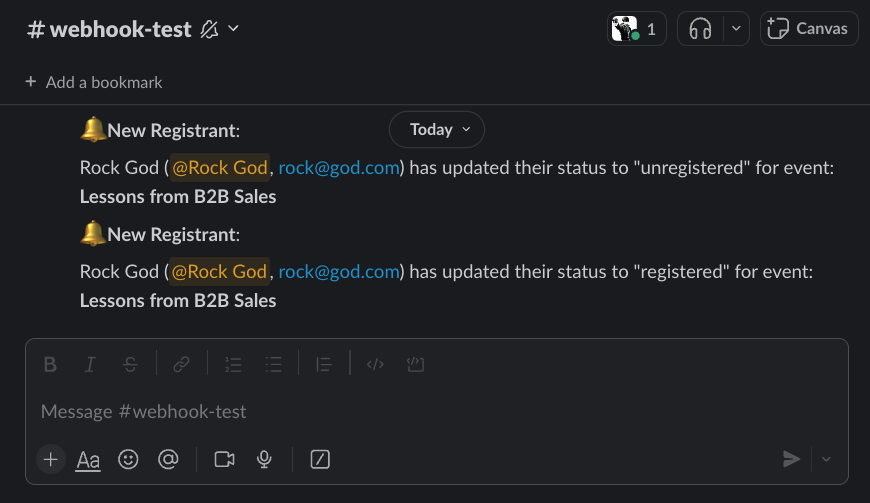
Your Make scenario is now live and listening for incoming Tightknit events! Registration changes will now send notifications to your Slack channel.
Slack notification for a new registration
Was this page helpful?
Assistant
Responses are generated using AI and may contain mistakes.